
In the realm of modern computing, the ability to capture and share screenshots quickly and efficiently has become a crucial aspect of everyday tasks. Whether you’re compiling tutorials, documenting software bugs, or simply sharing moments from your digital experience, having a reliable download snipping tool at your disposal can significantly streamline the process.
Among the various options available, the Snipping Tool stands out as a user-friendly and versatile choice for capturing screenshots on Windows operating systems. In this guide, we’ll explore how to download and start using this handy tool.
What is the Snipping Tool?
The Snipping Tool is a built-in screenshot utility that comes pre-installed with Windows Vista, Windows 7, Windows 8, and Windows 10 operating systems. It enables users to capture screenshots in various modes, including full-screen, rectangular, free-form, and window snip. Additionally, it offers basic annotation tools to mark up captured images before saving or sharing them.
Steps to Download the Snipping Tool
For Windows 10 Users:
- Open the Start Menu: Click on the Windows icon located at the bottom-left corner of your screen.
- Search for “Snipping Tool”: In the search bar, type “Snipping Tool” and press Enter.
- Open the Snipping Tool: From the search results, click on the “Snipping Tool” app to launch it.
- Pin to Taskbar or Start Menu (Optional): Right-click on the Snipping Tool icon in the taskbar or Start Menu and select “Pin to taskbar” or “Pin to Start,” depending on your preference.
For Windows 7 and Windows 8 Users:
- Access the Start Menu: Click on the Start button located at the bottom-left corner of your screen.
- Navigate to All Programs: Select “All Programs” from the Start Menu.
- Open Accessories: Within the All Programs menu, locate and click on the “Accessories” folder.
- Launch the Snipping Tool: From the Accessories folder, click on the “Snipping Tool” to open it.
Using the Snipping Tool
Once you have the Snipping Tool open, you can start capturing screenshots using the following steps:
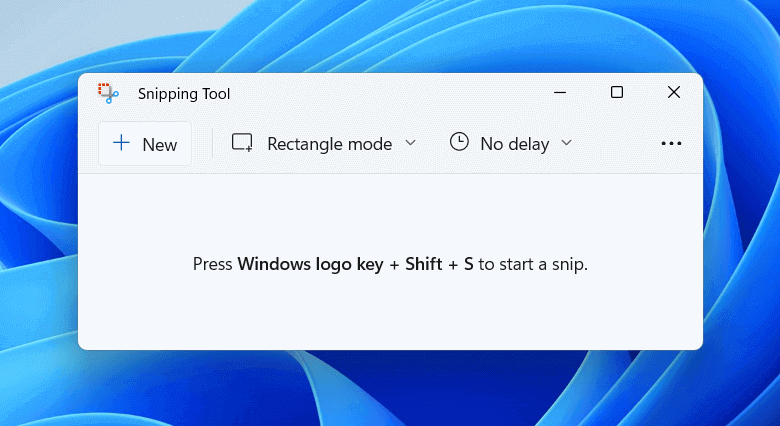
- Select the Snip Type: Click on the “New” button in the Snipping Tool window to choose from four snip types: Free-form Snip, Rectangular Snip, Window Snip, or Full-screen Snip.
- Capture the Screenshot: After selecting the desired snip type, use your mouse to drag and select the area of the screen you want to capture.
- Annotate (Optional): If needed, use the available pen and highlighter tools to annotate the screenshot.
- Save or Share the Screenshot: Once you’re satisfied with the captured image, click on the “File” menu and select “Save As” to save the screenshot to your desired location. Alternatively, you can click on the “Copy” button to copy the screenshot to the clipboard for easy pasting into other applications.
Conclusion
The Snipping Tool is a convenient and versatile tool for capturing screenshots on Windows operating systems. With its intuitive interface and various snip modes, it caters to a wide range of screenshot capture needs. By following the simple steps outlined in this guide, you can easily download and start using the Snipping Tool to streamline your screenshot workflow and enhance your productivity.